 |
| My fence post headboard! |
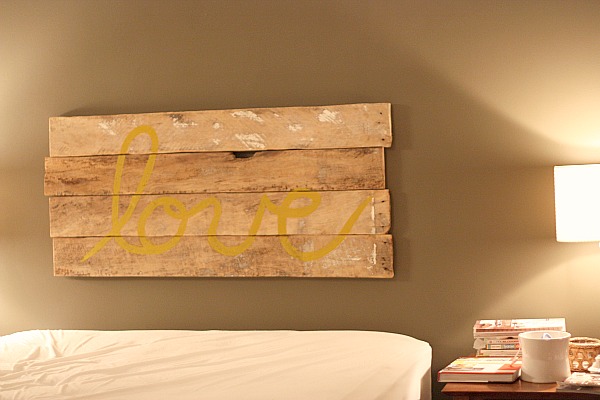 |
| Other blog's headboard |
What you need:
Old fence boards + 3 extra (measure how tall you want your headboard and that is how many boards you use)
2 (1x4) pieces of wood the length of the fence post
Screws
Sand paper or electric sander
Sealant
Paint brush
Saw (this is optional because Home Depot will do so many cuts for free!)
 |
| Planks screwed into boards |
 |
| Up close look. One nail in each board |
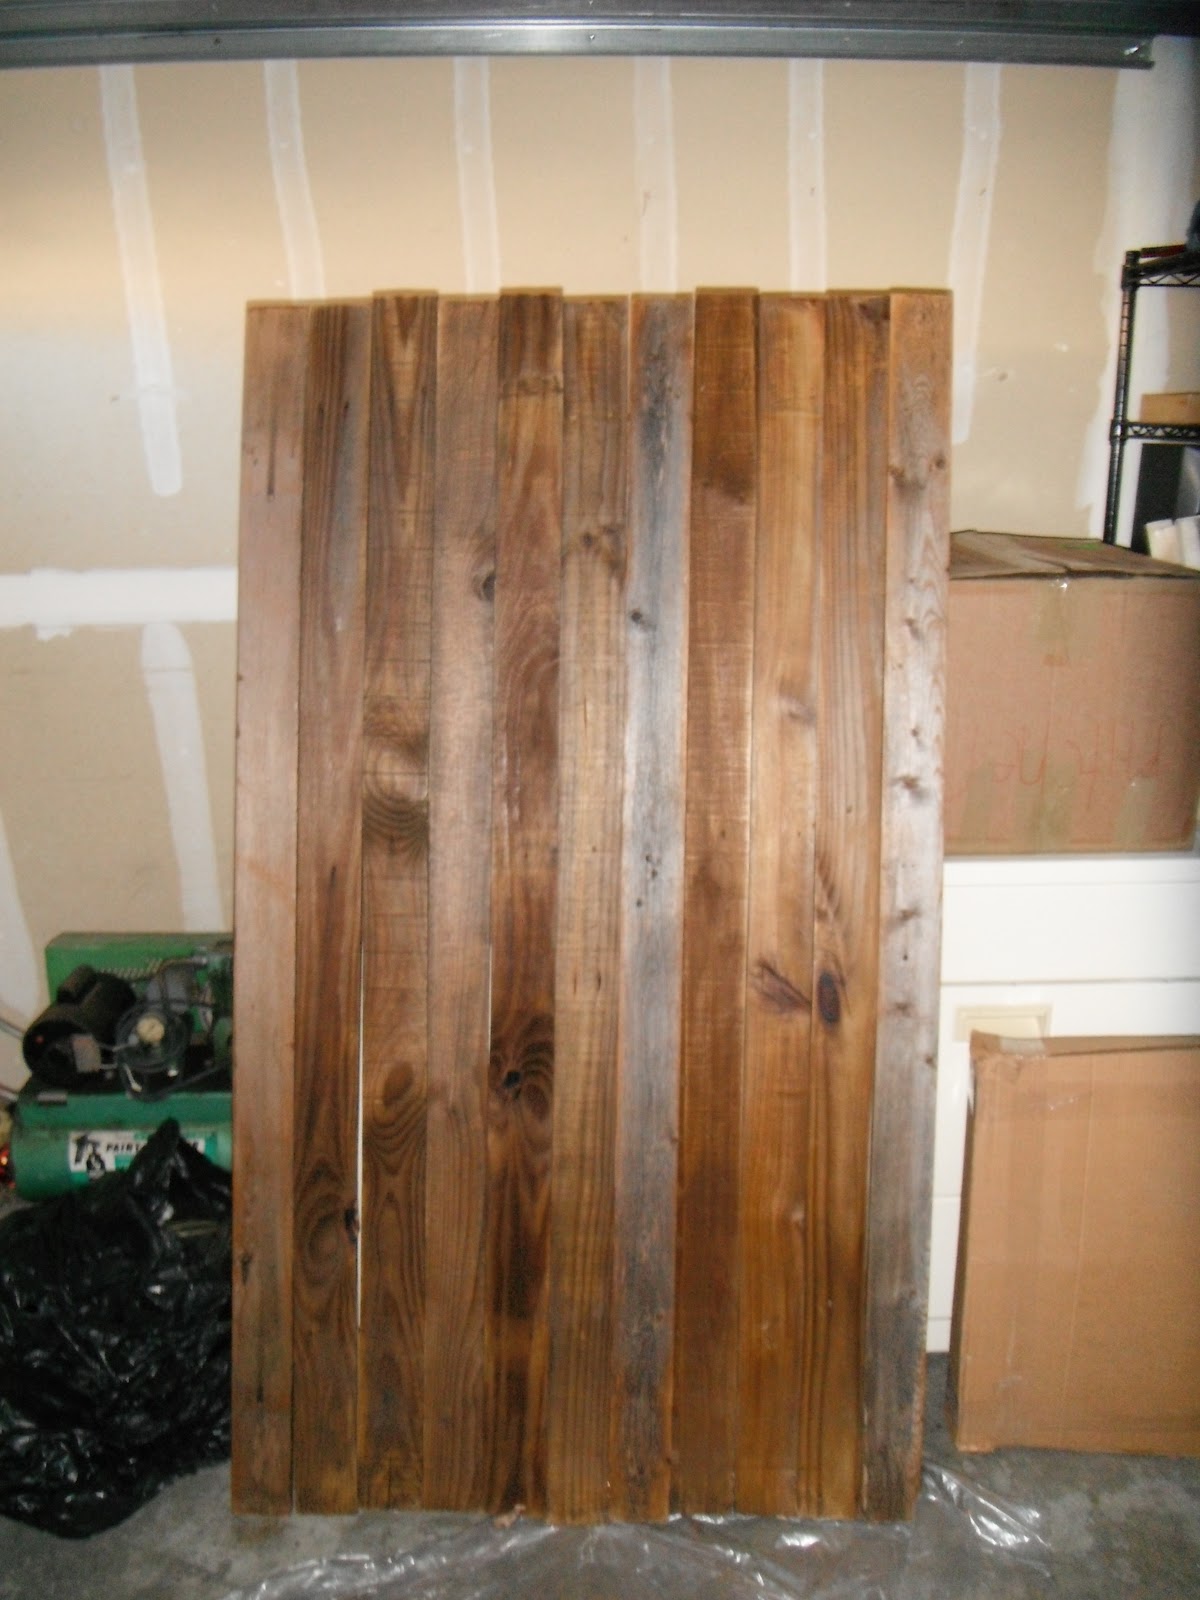
Decide which side of your fence boards will face out. Lay that side face down. Take the extra fence boards that you saved and cut them to the height of your headboard. These will be the planks that all of the boards screw into. Lay these 3 pieces on top of the boards (the side that will face the wall) and screw them in. Next sand the front side of your headboard! Then put a coat of sealant on your headboard (I only did the front side but you can do both if you want). You will want to air your headboard out very well because the sealant has a terrible smell!
Once you have sealed your headboard, it should look like this:

 |
| Angled cut view. |
 |
| angled wood cute |
 |
| 1x4s on the headboard |
 | |
| 1x4s on the wall |
 |
| Angled down on the headboard |
 |
| Angled up on the wall |
 |
| Fitted together side view from a different angle |
 |
| fitted together side view |
 |
| finished project up close |
 |
| finished project further away! |
Quick price breakdown:
Old fence boards: free
Screws: free or about $2 if you don't have any
1x4s: free or about $2.50 if you don't have any
Sealant: $8 to $9
Paint brush: free or roughly $3
Sand paper: free or if you don't have any (not sure of the price but pretty cheap)
Saw: free if you have it or free if Home Depot cuts the woods (after 2 to 3 cuts, they charge $0.25)
Now go tackle this project and make yourself a headboard for $15-$20 or less! Don't forget to let me know how it goes!
No comments:
Post a Comment